Summary#
In this tutorial, we will show you how to apply adjustments in your project and how to modify them in real-time for an existing project.
Add an adjustment#
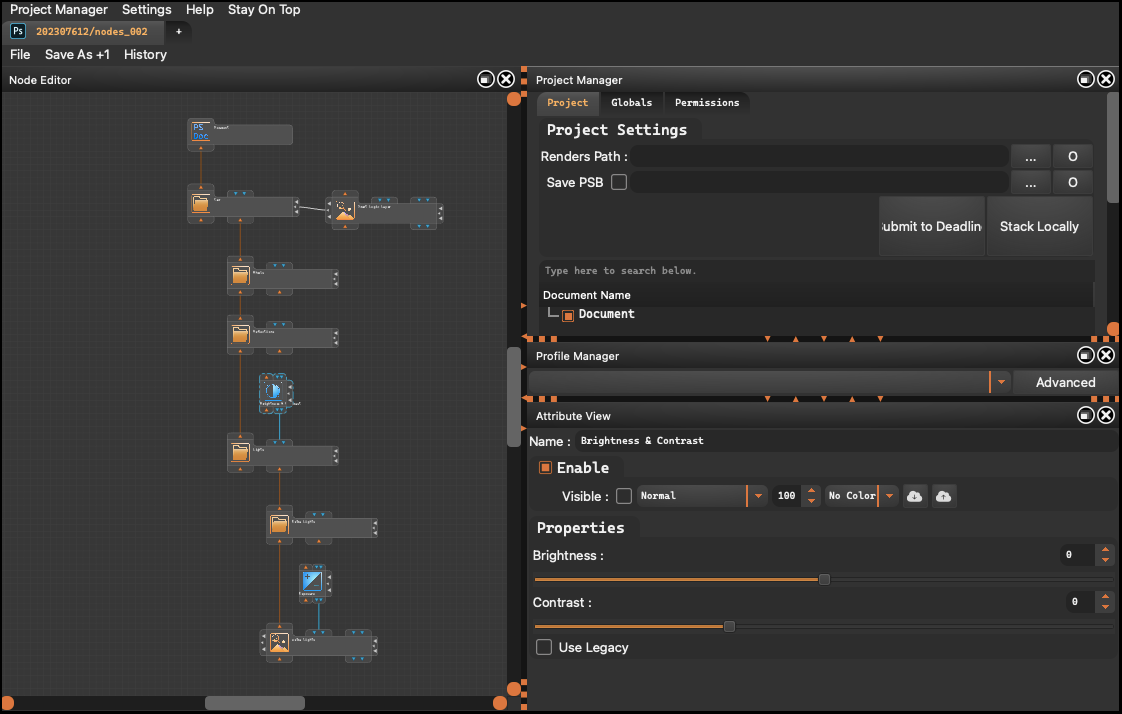
To add an adjustment to our project, we need to connect it with the blue marker on an existing node that we wish to link it with.
Adjustments can be applied either to individual renders or to an entire group.
Send /receive data#
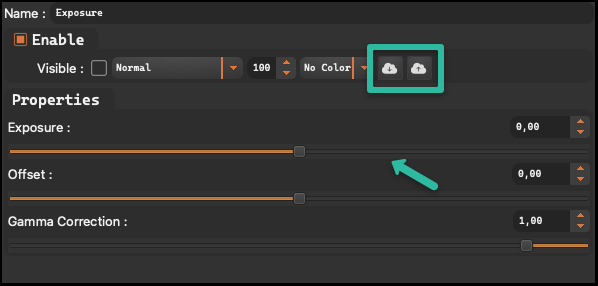
After creating an adjustment in the workspace, we have the ability to modify our project settings. By clicking on the created adjustment and setting the desired values, we can then use the ‘Send to Adobe Photoshop’ function to apply these changes.
This feature also works in reverse. After adjusting the desired values in Adobe Photoshop, we can click ‘Get Settings from Adobe Photoshop’ to import these settings back into the Stacker program.
This bidirectional flow ensures that adjustments made in either software are seamlessly integrated and consistent across both platforms